
(Filmmaker, 8+ Years of Experience)
When I first picked up a phone to take photos during school, I didn’t know I was stepping into a journey that would shape how I see the world. I didn’t own a DSLR. I didn’t even know what aperture or ISO meant. But I had curiosity—and honestly, that was enough.
I began by shooting everything that caught my eye—sunsets from the balcony, friends posing at school, streets that felt cinematic even when nothing was happening. I didn’t wait for permission or gear. I just started.
Later, I got my first DSLR—a Nikon. It felt like an upgrade, but the real growth didn’t come from the gear. It came from practice. I also learned from YouTube tutorials. I joined a photography class once, but to be honest, I learned way more from trial and error than from any instructor.
Eventually, I started doing free shoots for friends. When they posted those photos online, others noticed. That’s how the referrals started. One shoot led to another—and slowly, my passion turned into paid work.
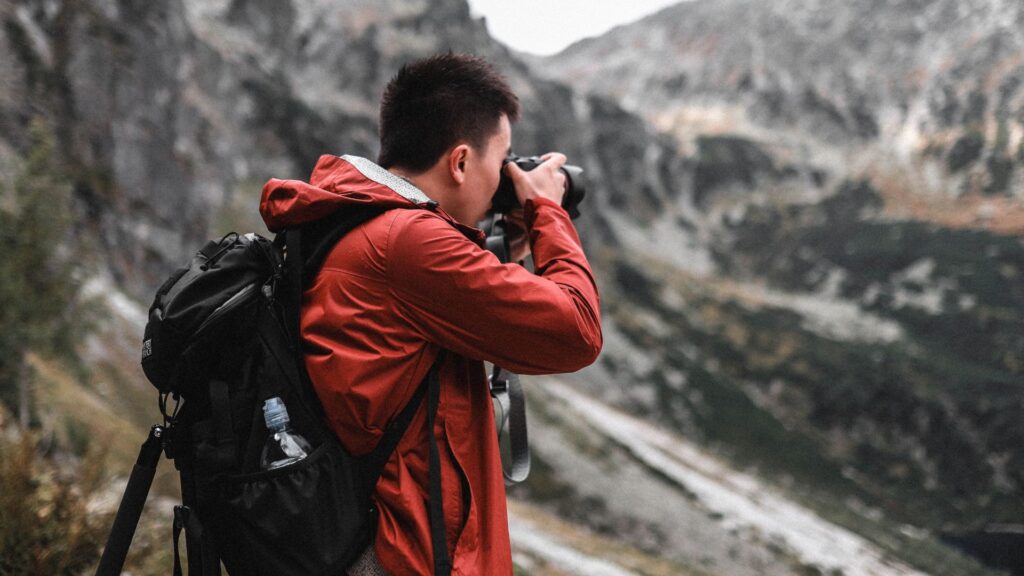
Today, I shoot with a Sony A7S III and use a 50mm prime and a 28–70mm zoom lens. I still love travel photography, but really—I just love capturing moments. Whether it’s a street corner, a quiet expression, or light falling through a window—I shoot what I feel.
This guide isn’t just about camera specs or technical jargon. It’s about how to actually become a photographer, step by step—from a beginner’s mindset to finding your style and building a portfolio that gets you noticed.
Whether you’re holding a phone or a mirrorless beast, I’m here to tell you:
You can start right now.
Ready to dive in?
I still remember those early school days when I’d pull out my phone just to freeze little moments—a sunbeam cutting across the desk, a friend’s candid smile, the way rain looked on the window. It wasn’t about quality. It was about curiosity.
Back then, I didn’t have manual settings or professional gear. I had a basic phone camera—and a growing desire to capture life as I saw it. I didn’t think about becoming a “photographer.” I just loved creating something with whatever I had.
I did eventually join a photography class. It sounded exciting—assignments, critiques, theory. But honestly? The biggest lessons came outside that classroom.
Watching YouTube tutorials, mimicking shots I saw online, and experimenting with light in my room taught me more than any structured course. Most of my learning came from shooting every single day. And failing. A lot.
What did those blurry photos and missed exposures teach me? They taught me way more than theory ever could.
Getting my hands on a DSLR felt like a glimpse into the future. The Nikon D3200 became my creative playground. I’d head out to random places—alleys, lakes, crowded streets—and just shoot whatever felt right.
Then came the Sony A7S III. It wasn’t just a technical upgrade—it was emotional. That camera gave me the freedom to shoot exactly how I wanted. Paired with a 50mm and a 28–70mm lens, it became an extension of how I see the world.
But even now, with all the gear I have, I know one thing for sure:

Don’t wait for that dream camera. Just start. I began with my phone during school. It wasn’t fancy, but it captured what I saw. And more importantly—it got me started. You can learn composition, lighting, and timing with any camera, even a basic smartphone. It’s about your eye, not your equipment.
Your early days should be all about exploration. I used to roam around with no plan—if something felt visually interesting, I’d shoot it. Dust on a window, a bird in the distance, even my reflection. The more you shoot, the more you start seeing like a photographer.
I joined a class once, but honestly, YouTube taught me more. Channels like Saurav Sinha, Peter McKinnon, and Mango Street helped me understand everything from lighting to storytelling. But it wasn’t just watching videos—it was applying what I learned and noticing what worked or failed.
Instagram became my portfolio. Every time I uploaded something I liked, I’d get DMs asking, “Did you shoot this?” That visibility matters. Please consider posting even a single good frame. Over time, your feed becomes your resume—and it speaks louder than a degree.
In the beginning, I didn’t charge a rupee. I shot my friends, cousins, and whoever was willing. When they posted those pictures, people started asking, “Who clicked this?” That’s how paid work began for me—one referral at a time.
Manual mode sounds intimidating, but it’s actually your best friend. Start with shutter speed—see what happens when you shoot fast vs. slow. Then try ISO and white balance. Don’t rush. Take one control at a time. Eventually, you’ll be shooting with full control—and confidence.
If you’re just getting into photography, the DSLR vs. mirrorless debate can feel confusing. But here’s the real deal: both will teach you photography equally well. I started with a DSLR (Nikon D3200) and later moved to a mirrorless (Sony A7S III). Mirrorless cameras are lighter, offer real-time previews on screen, and often have better video features. But DSLRs still offer excellent image quality, battery life, and more affordable options. Pick whichever fits your budget—just make sure it allows manual control.
| Feature | What Matters |
|---|---|
| Sensor Size | APS-C is ideal for beginners. Full-frame performs better in low light but is more expensive. |
| Megapixels | 16MP or more is plenty for social media and printing. |
| Manual Controls | Ensure the camera allows full control over shutter speed, ISO, and aperture. |
| Lens Compatibility | Choose a system with a wide variety of compatible lenses. |
If you ask me the best lens to start with, I’ll always say: the 50mm. It’s sharp, affordable, and incredibly versatile. I’ve used my 50mm lens for portraits, product shots, moody street photos—you name it. The background blur (bokeh) it creates makes images feel cinematic and professional. And it trains your eye to frame scenes more thoughtfully since it’s a fixed focal length (you move, not the zoom ring).
Before you dive into editing or buying gear, start with how you frame your shot. Learn the rule of thirds, where you divide your frame into a grid and place subjects along the lines or intersections. It’s one of the easiest ways to make your images more engaging. Try leading lines (like roads, walls, or shadows) to guide the viewer’s eye. Furthermore, watch your headroom and background. A good photo often comes down to clean, intentional framing.
Photography is literally painting with light. Understanding this aspect of photography can transform your shots from flat to cinematic. Early on, I used natural window light and lamps to shape my scenes. Attempt to capture the soft and emotional light during golden hour, which occurs just after sunrise or before sunset. Pay attention to where the light hits the subject’s face. Is it from the side? Behind? Above? Each creates a different mood. Light isn’t just technical—it’s emotional.
Some of my favorite photos came from simply waiting. Watching. I am allowing the moment to unfold. You don’t always need rapid bursts. Occasionally, it’s about pressing the shutter at the perfect time—a laugh, a breeze, a step into light. Good timing is what separates snapshots from storytelling. So don’t just look. Observe.
Once you’ve taken the shot, editing helps shape the final feel. Start with exposure, contrast, white balance, and sharpness. Apps like Lightroom Mobile are beginner-friendly and powerful. Try not to over-edit. Find a visual tone that feels like you—warm and soft, dark and moody, bright and airy. This is where your style begins to form.
A great photo doesn’t just show something—it makes you feel something. Ask yourself, What’s the emotion here? What’s happening beyond the frame? Whether it’s a candid street moment or a posed portrait, aim to create curiosity or connection. That’s how your photo becomes a story.
A great photo doesn’t just show something—it makes you feel something. Ask yourself, What’s the emotion here? What’s happening beyond the frame? Whether it’s a candid street moment or a posed portrait, aim to create curiosity or connection. That’s how your photo becomes a story.
You don’t need a mountain or a monument to practice photography. Some of my most creative shots came from my bedroom, kitchen window, or just outside my door. Shoot your hands under a lamp. Use curtains for moody shadows. Try framing your reflection in mirrors or puddles. Even textures on a wall can become interesting when lit right.
I remember once placing a glass of water on the floor with sunlight hitting it—just that, and the image felt magical. The key? Stop looking for “perfect” places. Start creating interesting frames where you are.
Cinematic photos often come from how you shoot, not what you shoot. Frame tight, use light from one side, and keep the background simple. Shoot a cup of tea as if it’s part of a film still. Capture your sibling walking through a sunbeam. Ordinary becomes cinematic when you bring focus, mood, and emotion into the frame. It’s not about travel—it’s about vision.
Cinematic photos often come from how you shoot, not what you shoot. Frame tight, use light from one side, and keep the background simple. Shoot a cup of tea as if it’s part of a film still. Capture your sibling walking through a sunbeam. Ordinary becomes cinematic when you bring focus, mood, and emotion into the frame. It’s not about travel—it’s about vision.
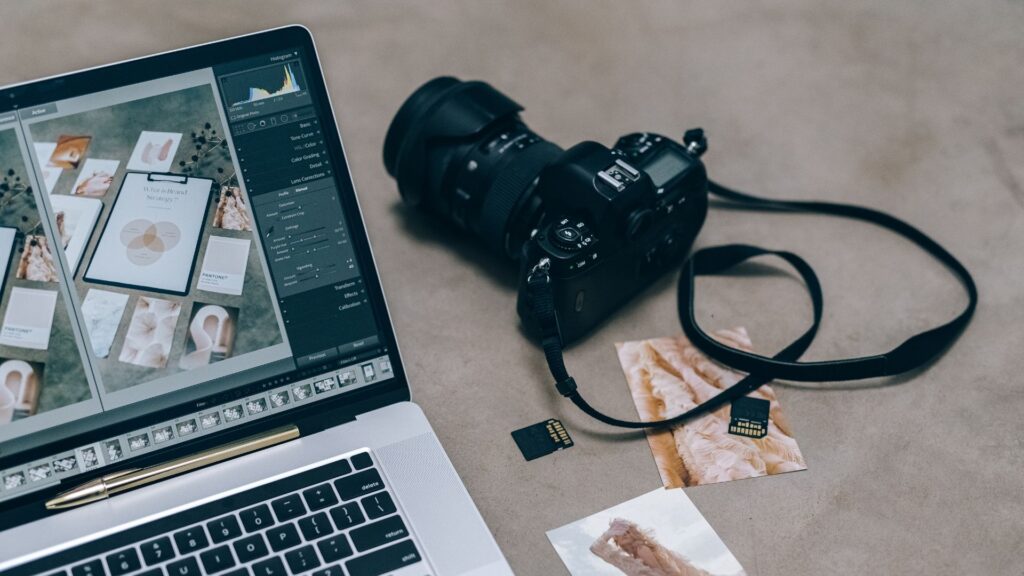
Editing doesn’t have to be complex. I started with Snapseed and Lightroom Mobile—both free and beginner-friendly. Snapseed gives you quick tools like selective brightness, healing brush, and filters. Lightroom lets you work with sliders for exposure, highlights, shadows, contrast, and more.
Once you’re comfortable, you can try VSCO for film-like tones or move to desktop Lightroom if you want finer control.
The first edits I usually do:
Just these tweaks can drastically improve a photo—no filters needed.
Editing isn’t about turning sliders randomly. It’s about mood. When I shot a quiet street at dawn, I gave it cool tones and soft contrast—it felt lonely, still. When I shot my friends laughing, I brightened the highlights and warmed the image. Ask yourself: What should the viewer feel? That answer should guide your edit.
When I started out, I wasn’t thinking about making money. I just enjoyed taking pictures and sharing them. I’d post my best shots on Instagram with a simple caption—sometimes just the place or mood. Over time, those posts became my portfolio.
Even without a website, social media became my storefront. It showed what I could do, how I saw the world, and more importantly, how people felt in my photos. That’s how people started noticing me—not through ads, but through consistency and storytelling.
My first shoots were completely free. I shot portraits of friends, birthday events, and random street scenes. But when my friends posted those pictures and tagged me, their friends took notice.
That’s when the referrals started.
I didn’t chase clients. I just focused on making the people I worked with feel seen and appreciated. Word of mouth did the rest. Occasionally, it was a friend’s cousin’s wedding. Occasionally, a local brand needed product photos. Every shoot opened a door.
I still remember my first paid shoot. I was nervous. It was a portrait session for someone’s professional profile. I took it seriously—scouted light, prepped poses, edited with care.
When I delivered the photos, their reaction was priceless. They felt confident, and that gave me confidence too.
That one session taught me: When you take your work seriously, others do too.
In the beginning, I was obsessed with getting a “better” camera. I thought upgrading gear would magically make my photos cinematic. But the truth? My biggest improvements came not from gear but from learning how to use what I had. I wish I had spent less time researching lenses and more time just shooting.
Early on, I’d focus only on my subject—and forget to check the background. Messy wires, plastic chairs, harsh shadows… they ruined some outstanding portraits. It took me a while to realize that light and background are half the image. Now, before clicking, I scan the frame edge to edge.
I remember my first Lightroom edits—heavy contrast, oversaturated blues, and fake cinematic tints. I thought more editing = more impact. But subtlety is key. These days, I edit to enhance the emotion, not to show off color grading skills.
Instagram is inspiring but also overwhelming. I’d scroll through stunning profiles and think, “I’ll never get there.” But every photographer started somewhere. Now I compare myself to my past self, not to others—and that mindset changed everything.
If there’s one thing I’ve learned, it’s this: progress takes time. When I started, some of my photos were overexposed, awkwardly framed, or just plain boring. But I kept going. The more you shoot, the more your instincts improve. Don’t expect to master everything in a month. Keep picking up your camera—even when you feel stuck. The magic comes from showing up, not from sudden breakthroughs.
It’s tempting to mimic what’s trending on Instagram or Pinterest—moody edits, washed-out skies, overused filters. But trends fade. Your vision doesn’t fade. I learned to observe what naturally catches my eye, what emotions I like to express, and what stories I want to tell. That’s how you develop a photographic voice. Be inspired, yes—but make it your own.
In the beginning, I delayed posting because I didn’t think my shots were “good enough.” Looking back, those photos weren’t perfect—but they showed growth. And that’s what people connect with. Don’t let perfectionism stop you from sharing your work. Every photo you take is a step forward. The goal isn’t to impress everyone—it’s to express yourself.